Sleeping with a broken rib or rib injuries can be one of the most challenging activities because it seems like nothing you do will make you comfortable. It can feel impossible to get a good night’s sleep.
I work with many people recovering from rib fractures and injuries, and it’s always painful. In this article, I’ll provide tips and tricks for sleeping with broken ribs, and hopefully, one of them will help you get a little more comfortable, so you can get some restful sleep following one of these types of injuries.
Overview
- Nothing is Comfortable with a Rib Injury
- Types of Rib Injuries
- Equipment For Comfortable Sleep with Rib Injury
- Positioning For Comfortable Sleep with Rib Injury
Please note: Before we begin, you need to make sure you follow all the instructions and warnings provided by the manufacturer. The steps below are only to provide guidance with installing or assembling equipment, but you should always follow the warnings and instructions provided by the manufacturer and always speak with your medical team before adding new equipment to your routine.
Nothing is Comfortable with a Rib Injury
First, I want to recognize that just about nothing is comfortable early in a rib injury, including trying to sleep. I will cover some tools and ideas that may or may not work for you, but you should definitely try them because they could prove helpful later in your recovery.
For most people, it’s a solid six to eight weeks before they feel like themselves after a rib fracture or injury. Recovering from rib injuries is miserable, and it can be frustrating if you’re at the beginning of the healing process.
It does get better over time, though, and some of these ideas I’m sharing with you might not help much at first, but they could help you get a little more comfortable later in your recovery.
But before we get into different ideas and equipment, let’s talk about types of rib injuries.
Types of Rib Injuries
Like most injuries, there are several different types of rib injuries. Rib injuries can happen anywhere along the rib cage, including front, back, sides, and multiple locations. Most rib injuries are small cracks in the bone, but injuries can include everything up to displaced rib fractures.
Falls and vehicle accidents are common cause of rib injuries that often include fractures, torn cartilage, and bruised muscles. You can have rib injuries on one side or both sides. When choosing tools and equipment to help with your recovery, be sure to consider the location of your rib injury before making a choice.
Equipment for Comfortable Sleep with a Rib Injury
Some simple tools and equipment can help you get comfortable when you’re trying to sleep with a rib injury. Not just sleeping, but getting in and out of bed is extremely difficult and these tools will help.
Electric Recliner
An electric recliner is the first thing you should consider if you have a rib injury. I don’t recommend hand-pull recliners because pulling on the hand lever is difficult with a rib injury, but electric recliners can be great for an easy place to sleep and rest early in recovery.
I made a video about how to sleep in a recliner, which you should watch because I talk about pillow placement and where to have everything, so you don’t cause other issues. More than 50% of clients I work with use a recliner or head-adjustable bed for sleeping during the first week or so of their recovery.
Obviously, an electric recliner can be expensive, even if you find a used one, but fear not, I have several other tips and tricks if that is not in your budget.
Wedge
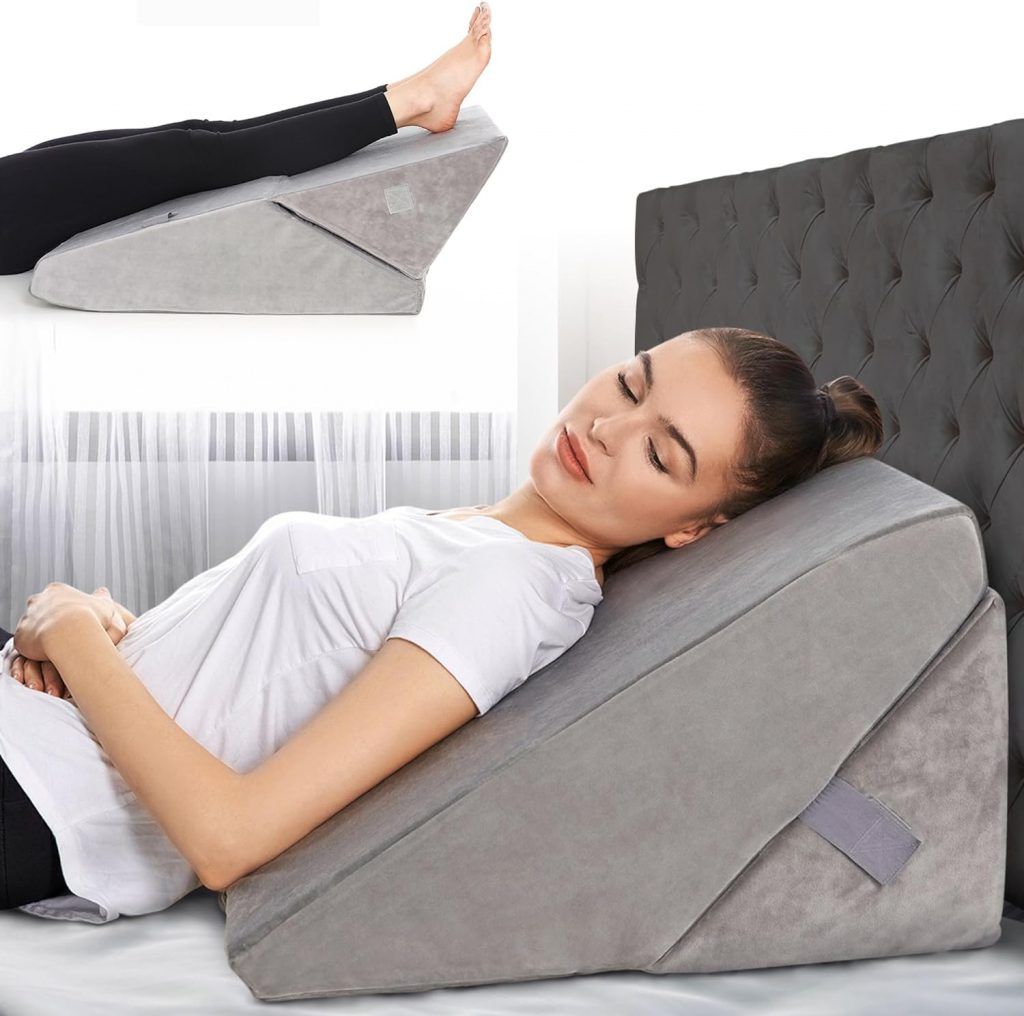
If you don’t have access to an electric recliner or head-adjustable bed, you can set up your regular bed to make yourself more comfortable. One of the best tools for a standard bed is the wedge pillow, and it’s relatively affordable. The bed wedge pillow is important in your recovery process because laying flat on your back during the first couple of weeks will be pretty much impossible.
Depending on what you find most comfortable and doable, you can modify your sleep position with a wedge pillow. It has a standard wedge height and then folds out to have a lower head height with a slightly longer wedge, which is great because you can set the height where you feel most comfortable.
You should add standard pillows with your wedge setup because it’s pretty firm. While that fills good to some people, most people with rib injuries need extra cushioning early in recovery. Move pillows around to see what feels best for you.
Compression Pillows
I also recommend using small soft pillows. Little compression pillows work well for compressing against your tender ribs when you’re moving or coughing. Doctors used to suggest wearing a compression garment around your rib cage, but since these garments interfere with the quality of your breathing, they aren’t usually advised anymore.
One of the biggest focuses of a rib fracture or injury recovery is your lungs and respiratory health. Part of your recovery should include doing a lot of deep breathing, and if you’re wearing a compression garment during restful periods, it will limit how good your breathing is.
Instead, I recommend using small pillows for compression during movement in bed. When you need to move, press the compression pillow gently against the area where you feel the most pain.
Standard Bed Rail
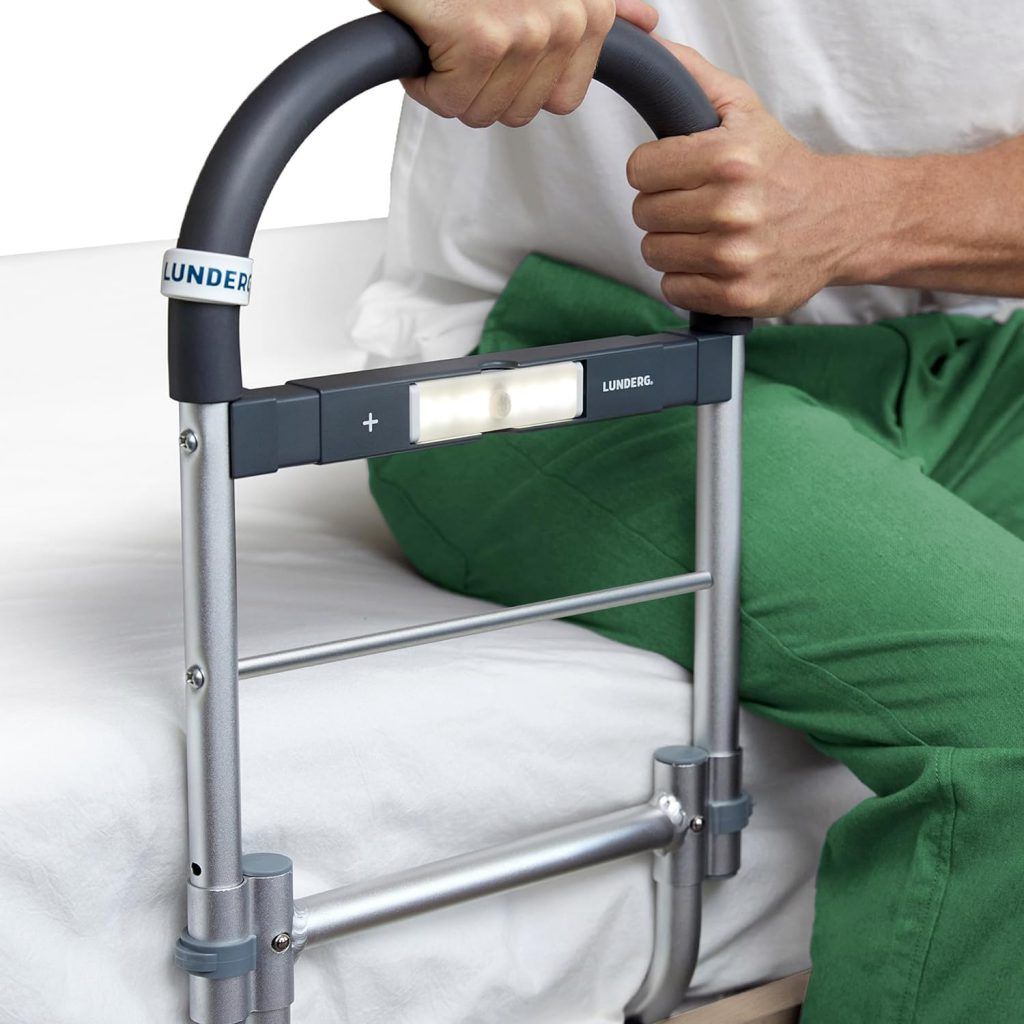
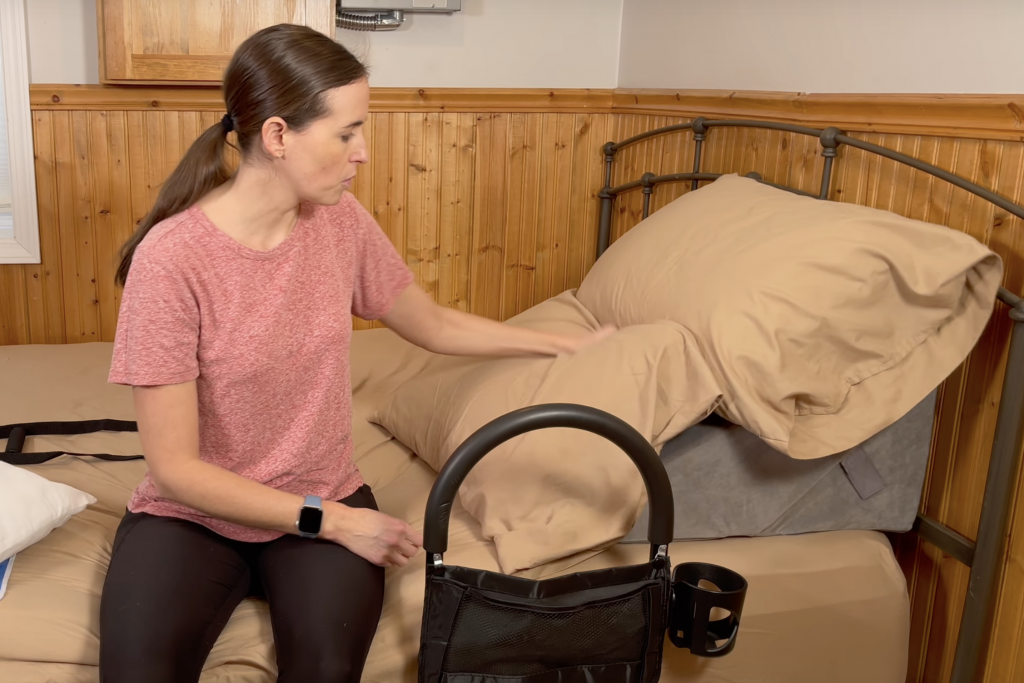
A standard bed rail, easily installed by sliding under the mattress, helps you balance yourself during transitional movements. It also has a handy cup holder and a pocket so you can keep items close to you because the worst thing is when you get comfortable and realize you can’t reach your water or your phone.
This bed rail will not work in an adjustable-height bed, but it works great with any standard bed. You can use it on either side of your bed, depending on which side your injuries are on your body.
Bed Ladder
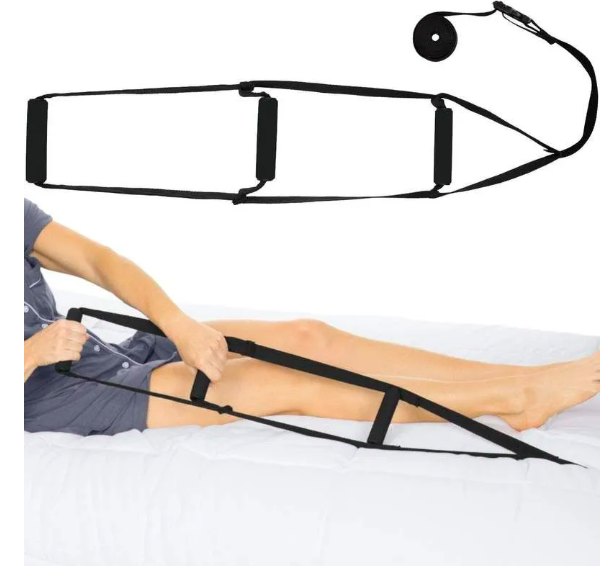
Another excellent tool is a bed ladder, which can help with transitional movements and sitting up in bed. They can be mounted anywhere, including on both sides and at the foot or head of the bed.
For more instructions, watch my video on how to install and use a bed ladder.
I like to set up both a bed ladder and rail because the more places you can grab to adjust yourself, the less assistance you will need from another person.
Ice Packs
Another really important thing is good ice packs. You need to be icing a lot when recovering from rib injuries, so I always like to have an ice pack on rotation. Have one available at the bedside when you’re about to get into bed.
Positioning For Comfortable Sleep with Rib Injury
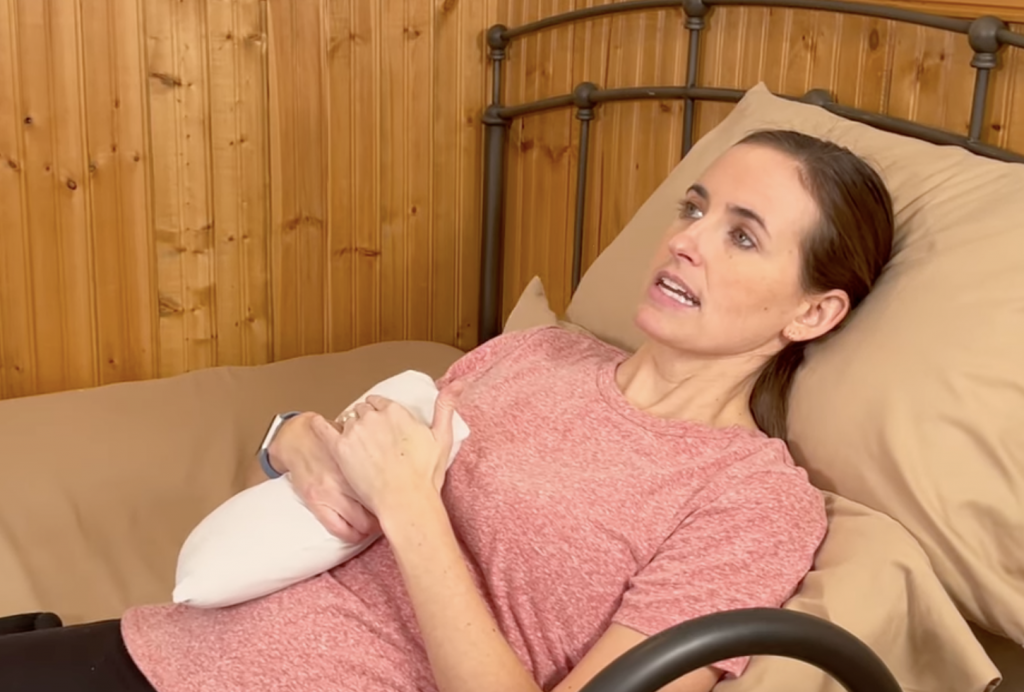
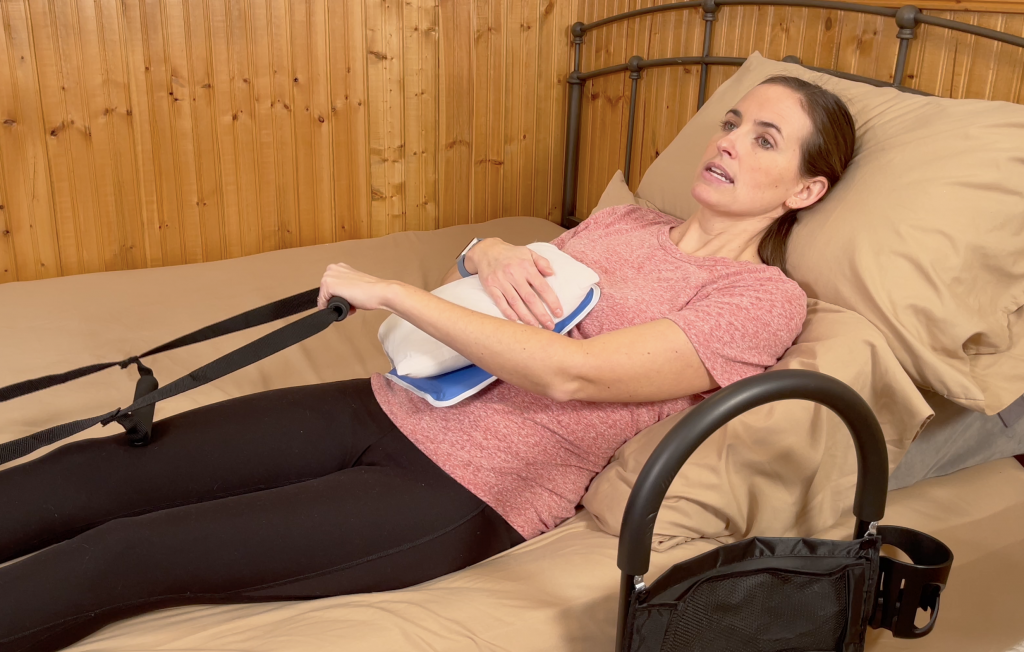
Now, let’s talk about the most comfortable positions you can use for sleep. After about three to four weeks into recovery, maybe sooner with a less severe injury, you can start to roll up onto your side a little bit, but for most people, sleeping on your back will be the only option.
Sleeping on Your Back With a Broken Rib
Getting in and out of bed is painful with a rib injury, and these tricks can help you position yourself for comfort and make it easier so you can heal faster and get better sleep.
Your bed rail should be set up so you can use your arm on your uninjured side to help move into and out of bed. If your injury is on your right side, put your bed rail on the left side. Likewise, if your injury is on your left, put the bed rail on the right side of your bed.
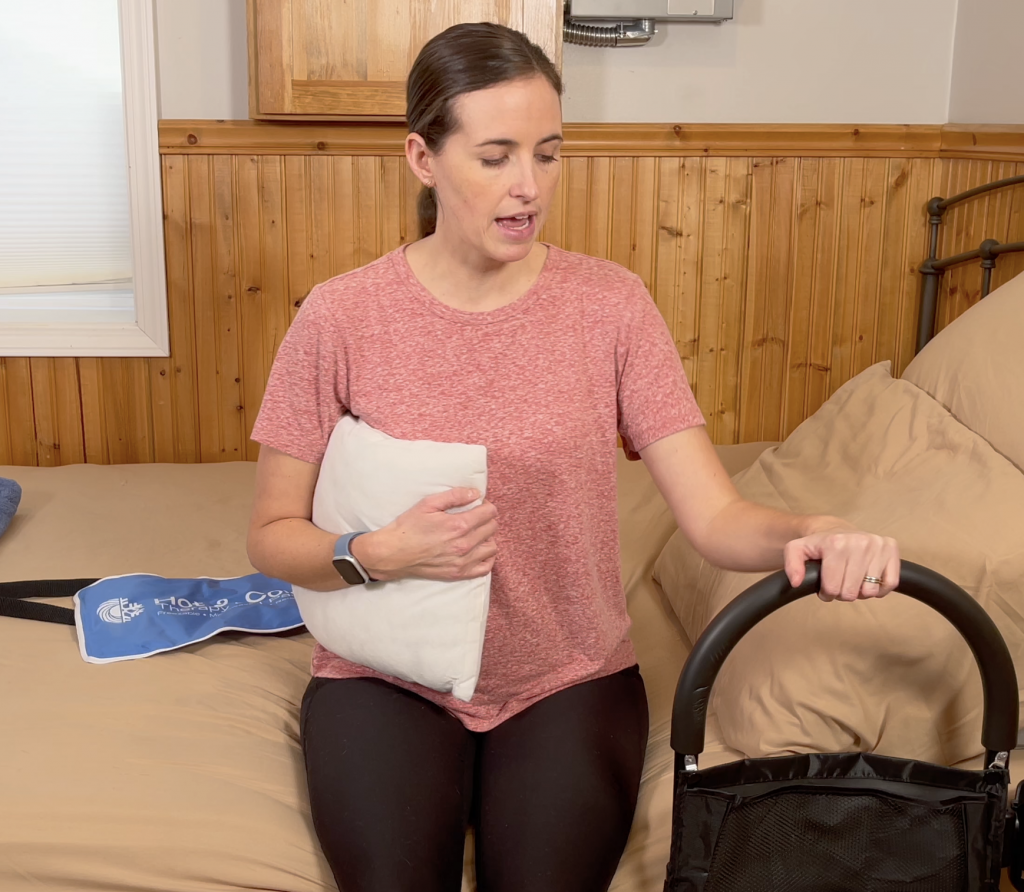
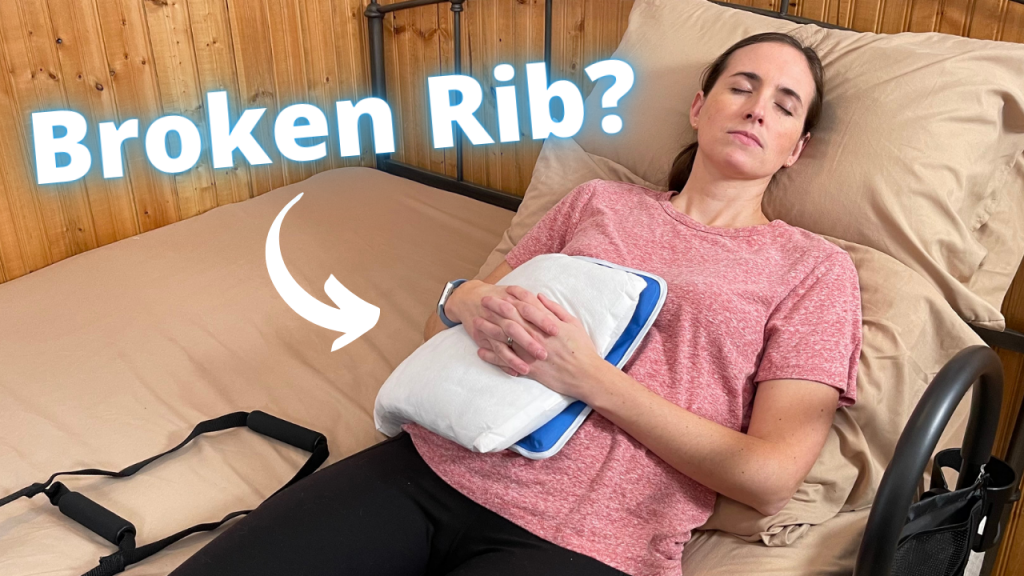
Sit on the bed beside your rail and compress your little pillow to your ribs. Use the rail to guide your body onto your side, but don’t spend much time there. Lean back against your wedge pillow, then gingerly scoot into the most comfortable position. Always keep your body aligned and avoid twisting motions.
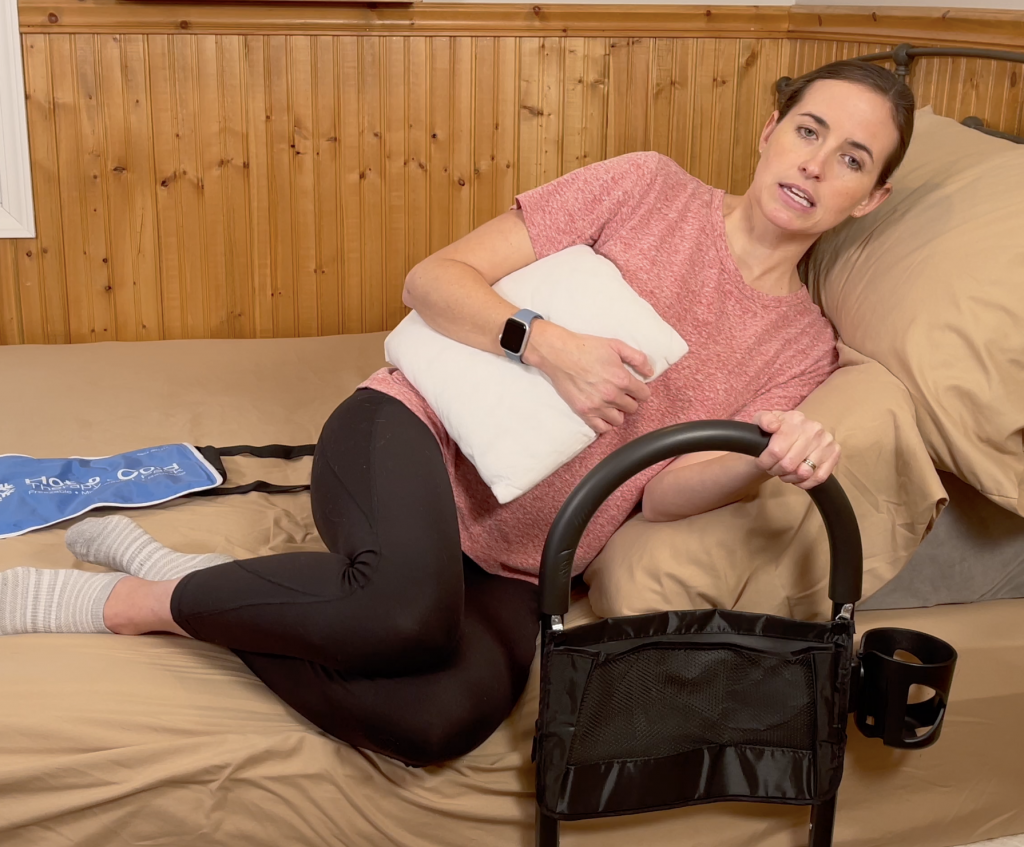
As you catch your breath, continue to hold the little pillow against your injury. Then, get your ice pack. Having an ice pack ready to go at your bedside is essential because twenty minutes of icing every hour can make a huge difference in keeping the inflammation down, which means less pain and better sleep.
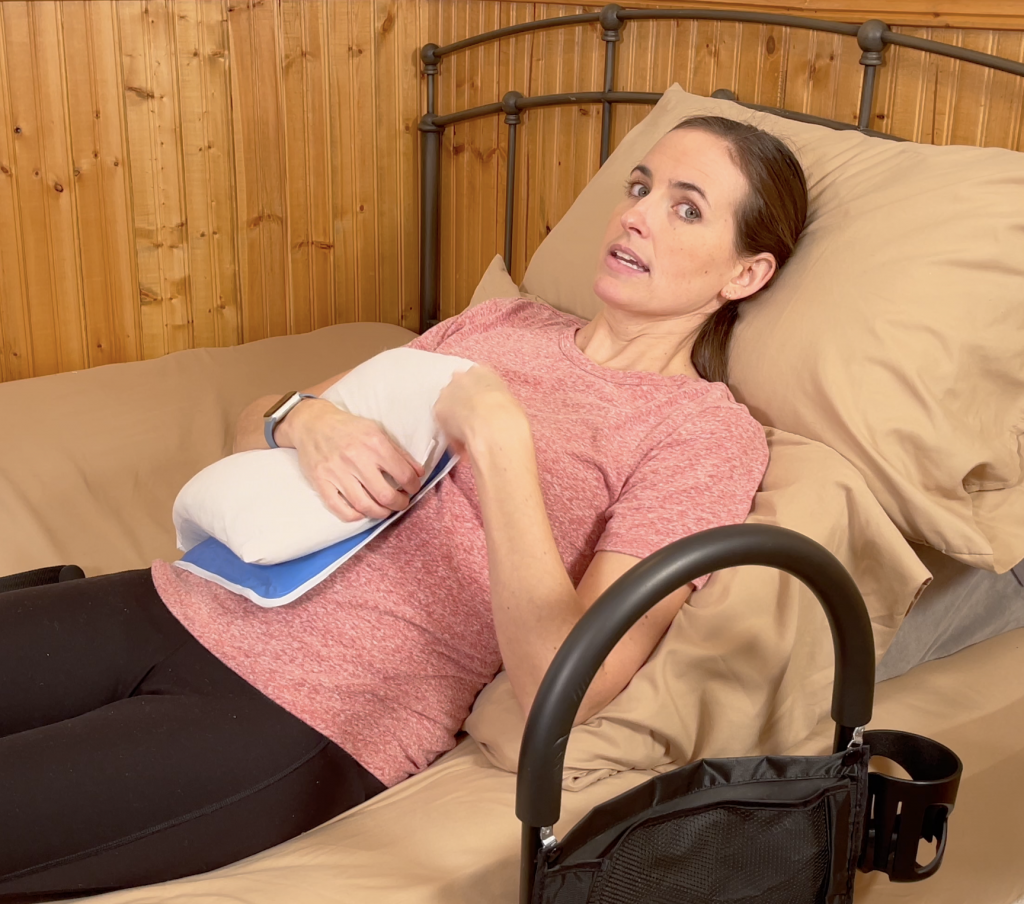
I also strongly recommend taking your pain medication about half an hour before bed. If you’re going to bed at 9 pm, take your medication at 8:30. This gives the medicine a chance to set in; that way, the pain isn’t as severe once you get settled, and you’ll be able to sleep better.
Have your bed ladder within arm’s reach, too, so you can use it to pull yourself into an upright position. Use the arm on your non-injured side to pull yourself up, so you can get back out of bed if you need to.
Sleeping on Your Side With a Broken Rib
Some people can sleep on their side after a few weeks. With your doctor’s permission, you can even sleep on your injured side if the compression from lying on your side feels good. You don’t want to lay on a displaced fracture, and you want to be careful if you have lung issues, so always check with your doctor before sleeping on your fractured side.
Plan Your Blankets
Planning out your blankets is another helpful trick you can use. It might seem small, but pulling and pushing are extremely uncomfortable motions when you have rib fractures, so even pulling a heavy blanket can be a problem.
Choose lightweight blankets that you can easily pull up. Many people have a lot of trouble because they select too heavy of a blanket early on. You don’t want to hurt yourself further by pulling on a heavy duvet.
All right, so there you have it! Several ideas for how to get yourself positioned for comfortable sleep following rib injuries or fractures. I hope you got some value out of this article, and if you need more information on how to stay safe and independent in your home and community, consider subscribing to EquipMeOT on YouTube.
*all prices are at the time of publishing
Note: This post contains affiliate links that provide a small commission without any added cost to the user.
- How to Sleep After a C-Section or Abdominal SurgeryRecovering from a C-Section, appendectomy, abdominoplasty, or other abdominal surgery can feel overwhelming, especially when it comes to something as essential as sleep. With a tender incision and limited mobility, finding a comfortable position may seem impossible—and yet, proper rest is critical for healing! In this …
How to Sleep After a C-Section or Abdominal Surgery Read More »
- How to Get In and Out of the Car after Hip ReplacementGetting in and out of a car after a hip replacement can feel like navigating an obstacle course. Ensuring you move safely and avoid unnecessary strain on your healing hip is essential for a smooth recovery. Whether you’re heading to a follow-up appointment or simply enjoying …
How to Get In and Out of the Car after Hip Replacement Read More »
- A Complete Guide to Lower Body Dressing After Hip Replacement SurgeryRecovering from hip replacement surgery (or similar traumatic injury) comes with its challenges, especially when it comes to everyday tasks like getting dressed. While your mobility may be temporarily limited, dressing your lower body can be made much easier with the right strategies and tools. This …
A Complete Guide to Lower Body Dressing After Hip Replacement Surgery Read More »
